So we bought a replacement tank from Veurinks RV Center
Sue there sent me this informative diagram:
I figured that $227.41 and $25 shipping was a deal..
wow it comes with "all these extra parts" (2-8)... NOT...
First thing was remove the old tank.. Some creative soul at HR had decided to do two things to make my life less easy:
1) They decided that after they installed the tank to foam it into place.
2) they decided to leave no access for the two screws that are the lower mounts. You can see in the above lower right photo there are two lower tabs.
I ended up tugging and straining and grunting mine out with some pry bars.. a little plastic on the hole in the coach is cracked where I partially forced the lower screws... anyway.. we'll figure out how to reinstall later..
Next: The big coolant line (7) (its either 1.25in ID or 1.375in ID in the pic was pretty much rotten.. ripped apart as I removed the bottle.
Now I'm looking for a source of a replacement hose..
The Hose is basically unobtainium, Veurinks has it I'm sure, but nowhere local has anything beyond 1inch. I only foudn two good solutions: A) goodyear has a 4 foot flexible hose THAT NO ONE WILL STOCK.. at least you can order it.. www.veyance.com and part number 58020 is for 1.25in
The other vendor is McMaster Carr I ordered up 1.25in ID and 1.375in ID and will return the unused one. www.mcmaster.com SKU 5727K47 and 5727K48 One other thing.. www.amazon.com has the Goodyear products, search "goodyear 58020" but McMaster was a little cheaper.. all depends on where you are with freight etc...
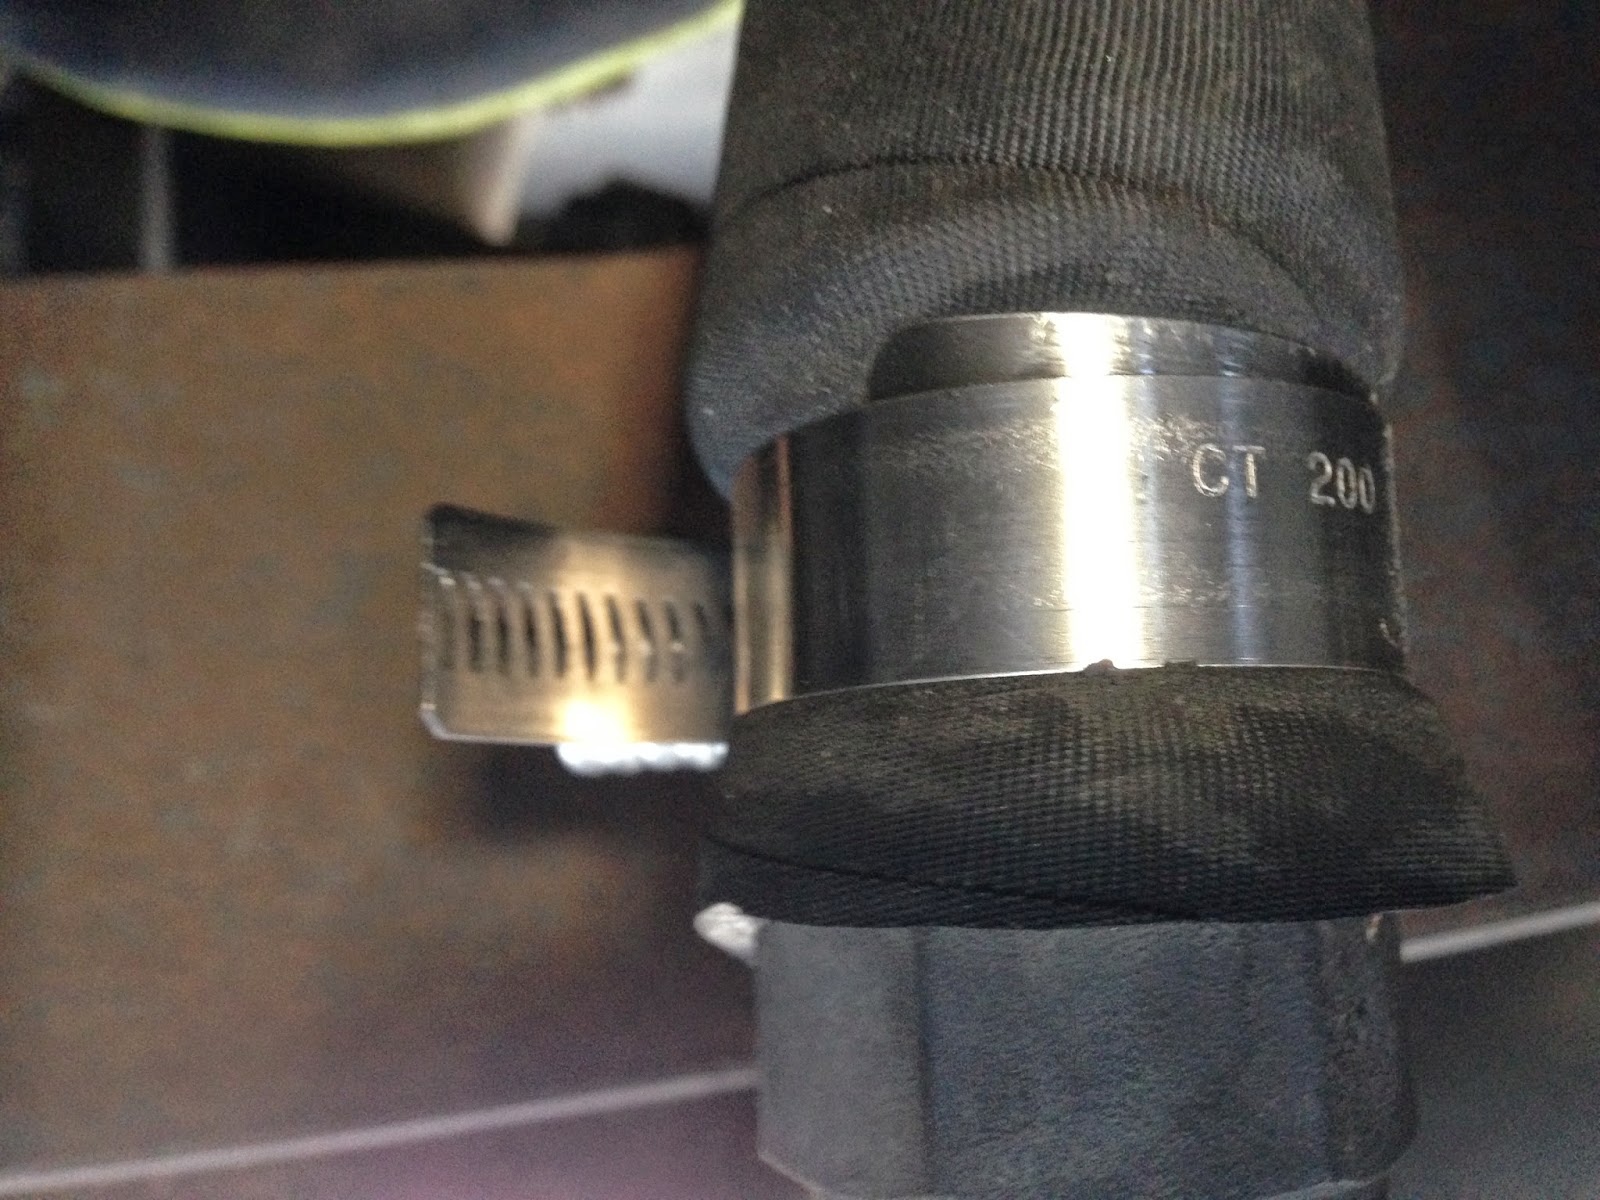
I ended up using the 1.375in ID hose, in theory the 1.25in could be made to work, but after wrestling for 45mins to get the old hose off underneath the coach, coupled with the fact that the 1.25in ID new hose didn't "easily" want to go over the barbs (with a lot of elbow grease sure..) I made the decision to allow the hose clamps to do their job, after all its only 10-15psi. I used exactly 37inches for a comfortable fit so if you end up with the 4ft goodyear one or even a 3 foot hose you'll be fine..
(Veurinks got back to me, they dont stock the hose so I'll let them know that McMaster is their friend.
Next: My OE tank didn't use (3) and (4) as they are shown, instead some funky compression rubber washer was used.. the fittings were corroded and the new tank would need to be drilled out.
So I went to Home depot and Napa and cobbled together some odd parts to work. my biggest issue right now is that everything is in pieces until its fixed and I don't want to wait for another week for a delivery from Veurinks... so I'm looking for local stock on the various extra pieces.
I also purchased a 1/4 and 1/8 NPT tap and am gently opening out the holes in the tank to allow a little more engagement.
Next: On my coach there is no real room to have a level sensor where (5) is.. my pocket in the coach is "flush" on that face..
Because I was "trying" to make things "work" I found a sensor FLS612 from Napa $25. plus $3 for a 1/4 to 1/8 npt adapter (sensor is 1/8, hole is 1/4). If you are trying to cheap out.. (and to be honest.. it seems like it would work better).. From what I can see the "sensor" is just a wire into the coolant.. not sure why a brass "1/4npt plug" wouldn't work.. and then just solder a wire onto that...
FYI Veurinks wanted $47 for that "sensor" so I'm definitely goignt o try my solution first (the napa FLS612 with a npt size step up bushing)
Next we need to find a replacement coolant drain plug the one we have isn't doing so well. time to replace..
Pep Boys has SKU 2119869 $3 Dorman - AutoGrade - Brass-Tite! AutoGrade - Brass-Tite! Drain Cock-Brass-1/4 In. NPT
Kragen or O'Reilly has several, search "Drain Cock"
Drain plug worked fine.
Looking ahead..
Coolant fill: I'm planning on filling with Zerex ZXEDRU1 which is heavy truck extended life coolant.. Napa has this for $12.50-$13/gallon... we'll need 12... thats premix.. I suppose 1 extra for the road would be good.
We also need to find the SCA additive coolant filter part number
The coolant filter is on the same side as the oil filter and near the engine to tranny interface.
Our plan in switching to long life:
A) do a flush ourselves (apparently Cummins charges $600.. (I'm sure a huge chunk of that is materials)
The plot thickens.. there is Cummins Compleat OAT.. that apparently never needs to be changed again...
Just going to have to call them...
apparently IF we switch to the long long life (of the engine) coolant.. then there are no further additives required... (actually every three years you remove a quart and add "a quart of additives"
Comments: While the coolant that I removed was all nice and bright green and clean.. the old level sensor was extremely corroded and the drain valve didnt work really well, plus the 2 fittings (3) and (4) that I removed were also corroded so.. I'm planing on having all the rubber hoses replaced and having a good look at the insides of the hard pipes at that time. Probably going to let that be done at a proper shop in 2 years. Probably let Cummins do this.
Called Cummins, the service manager said "not too worried about corrsion on the level sensor, the drain valve or the two hose fittings (3) (4), definitely do not do the Restore process.
Definitely switch to the Compleat OAT, (I ordered 6 jugs of concentrate, 1 jug of pre mixed 50:50 and a coolant filter with expedited shipping for $320 inc tax.) Its not as in expensive as the Zerex but the ability to work with Cummins and get essentially life of the motor with a 3 year additive is worth it in my opinion. If I had more time on my hands we could have saved about $60-80, but lesser priced sources were over a week out. (www.amazon 6 jugs concentrate for $200). (Note the guy I got at the local cummins was a noob.. and didnt understand that OAT was "different" sent me the old DCA based filter.. best to call the fleetguard hotline and get the correct part numbers, don't trust the cummins guys...
The plan is to fill the system with distilled wally world water, and flush and repeat until it runs "clear" $0.88/ gallon. Once that is the case we will remove 6 gallons of clear water and replace with 6 gallons of concentrate. That should give us what we are hoping.
While we flush and repeat I'll get an exact handle on the system capacity. do make that mix/ measurement a little more accurate.
From Cummins QuickServe:
Pressure Cap should be 15psi (hmm... old cap was 10psi)
Ok.. its been a week.. finally its all done..
Summary:
Used the 1 3/8in Hose from McMaster.. ordered a new set of hoseclamps the antivibration ones from McMaster are best.
I had an absolute fight with the old water filter.. finally got it off. Prefilled the new filter with water. took about 0.4gallons
Ended up flushing with Distilled Water 4 times.
each time it was taking 8.5-9 gallons
So after the 5th fill I went to the drain port (1/4npt pointing downwards) and just emptied out 5 gallons of water. I measured approximately by using 5 of my gallon jugs, at this point it really was just water.. so I let it spill a little and in general that was a little over 5 gallons..
I then replenished with concentrate until it was at the max level on the bottle, 5 gallons..
in theory that gives me at best 5/9.5 gallons and at worst 5/12 gallons. (the book spec says 12 gallons is the capacity..
I ordered up the Fleetguard test strips for the OAT coolant and will see..
Parts ordered:
CC36073 OAT 1 gallon Concentrate qty 6 @ $36.73ea
CC36077 OAT 1 gallon 50:50 premix qty 1 @ $19.12ea
WF2123 Non Chemical Coolant Filter qty 1 $90.. (go figure.. the DCA one is $26)
CC8997 Test strips pack of 50 about $60
Add tax and shipping...
buttoned everything back up... and now it all is running great...
will update once I get the test strips and adjust the concentration...


